Hazard Levels Beginner Guide: Survive Your First Crawls
Our Hazard Levels beginner guide covers rifts, quotas, the Gravity Gauntlet, perk cocktails and bar snacks so every crawl ends safely back on the bus.
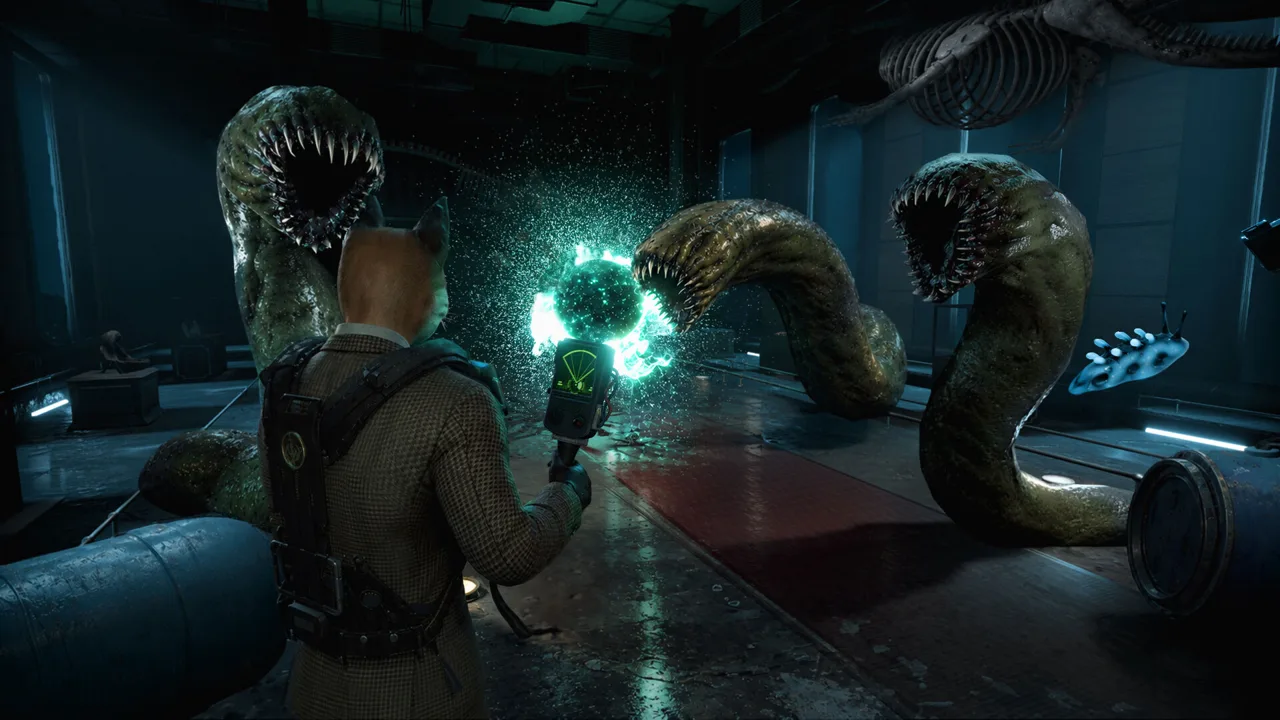
Your first trip through a rift usually ends one of two ways. Either you sprint onto the double-decker bus with seconds to spare, or you lose your head to a trap room you never saw coming. This Hazard Levels beginner guide covers the full crawl loop, the tools that keep you alive, and the mistakes that cost new Rift Crawlers their money. The 1.0 launch on November 12, 2026 added crossplay across Steam, Epic, PS5 and Xbox Series X|S, so plenty of fresh squads are diving in. Learn these basics and you'll spend more time brewing and less time watching the bus leave without you.
How a Crawl Works
Every expedition is called a Crawl, and every Crawl follows the same loop. Once you understand it, the chaos becomes manageable.
- Gear up at The Fox Hole Arms. The pub is your HQ. Board the Brew Dragon double-decker bus to head to The Facility.
- Grab your kit from the bus. The bus carries the Gravity Gauntlet, the scanner, Rift Stabilisers, weapons and drinks.
- Fill the collection station. Haul ingredients into the collection station until you hit the quota.
- Find a rift. Once the quota is complete, use your scanner to locate the rift.
- Deploy a Rift Stabiliser. Drop it in front of the rift to open the portal, then step through.
- Repeat in the new dimension. Each rift has its own collection station and a new quota. Every rift you open takes you deeper, and things get stranger the deeper you go.
- Escape when the rift collapses. A countdown starts. Get back to the bus before it hits zero, or the Crawl fails.
You can't bail out early. The bus won't leave until you've revealed more rifts, so plan to push at least one dimension deep.
Early-Game Tips for Your First Crawls
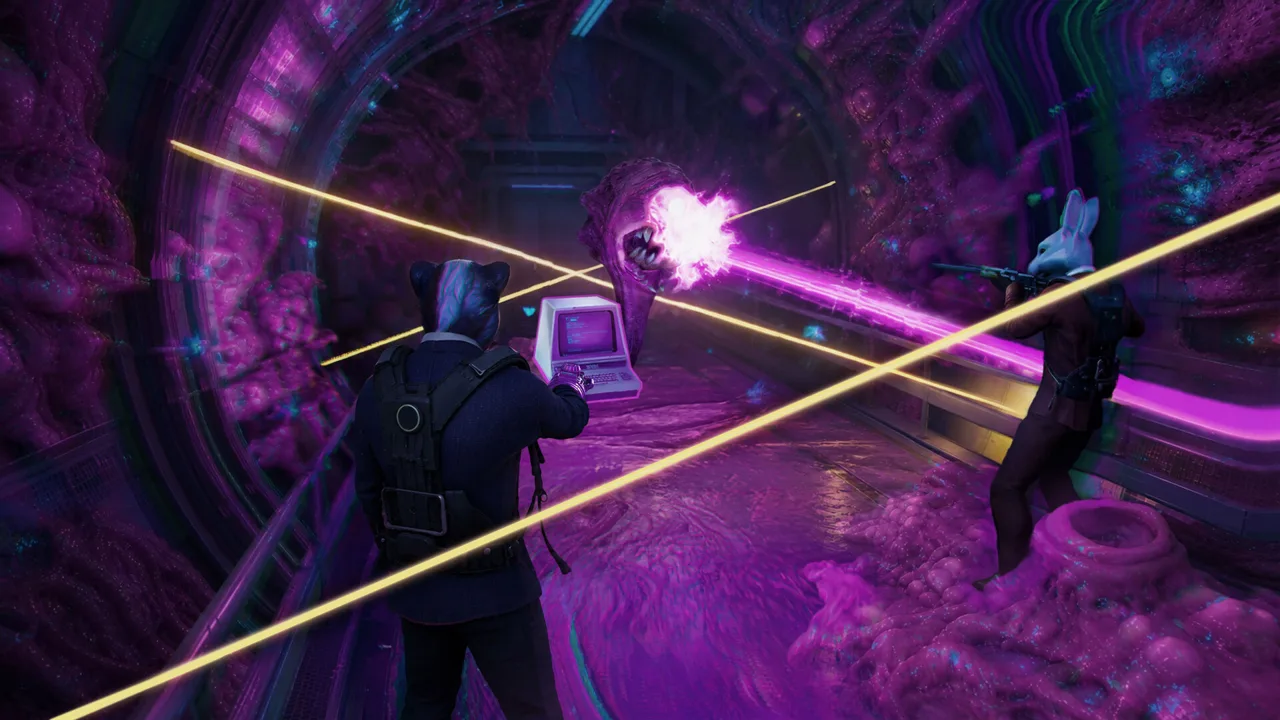 Image: Steam / Wales Interactive
- Play the new tutorial. The 1.0 update added a fully integrated tutorial plus extra signage around The Facility. Even if you've watched gameplay, run it once.
- Take your free drinks. On Crawl 1, the drinks cabinet is on the house. After that, drinks cost money, and you'll need to unlock recipes through brewing to keep using them.
- Carry more than one Rift Stabiliser. Each rift needs its own stabiliser. Running out means a trip back through previous dimensions to the bus. Resupply stations inside rifts sell them too, but they aren't cheap.
- Bring a scanner on every run. It locates ingredients, rifts and enemies, and it can show you a path to the exit. That last feature matters when the collapse timer starts.
- Ping valuable finds and collection stations. In co-op, marking the collection station saves your team from wandering around with full hands.
- Pick your camera. The game supports first and third person. Switch it under the preferred view type option in the graphics settings.
- Kick crates open. Smashable loot crates and supply crates drop extra ingredients, and crates have a chance to drop Power Ups. You can kick enemies as well (V on PC).
Handling Loot With the Gravity Gauntlet
The Gravity Gauntlet is your most important tool. It grabs, carries and throws objects, but careless use drains your profits fast.
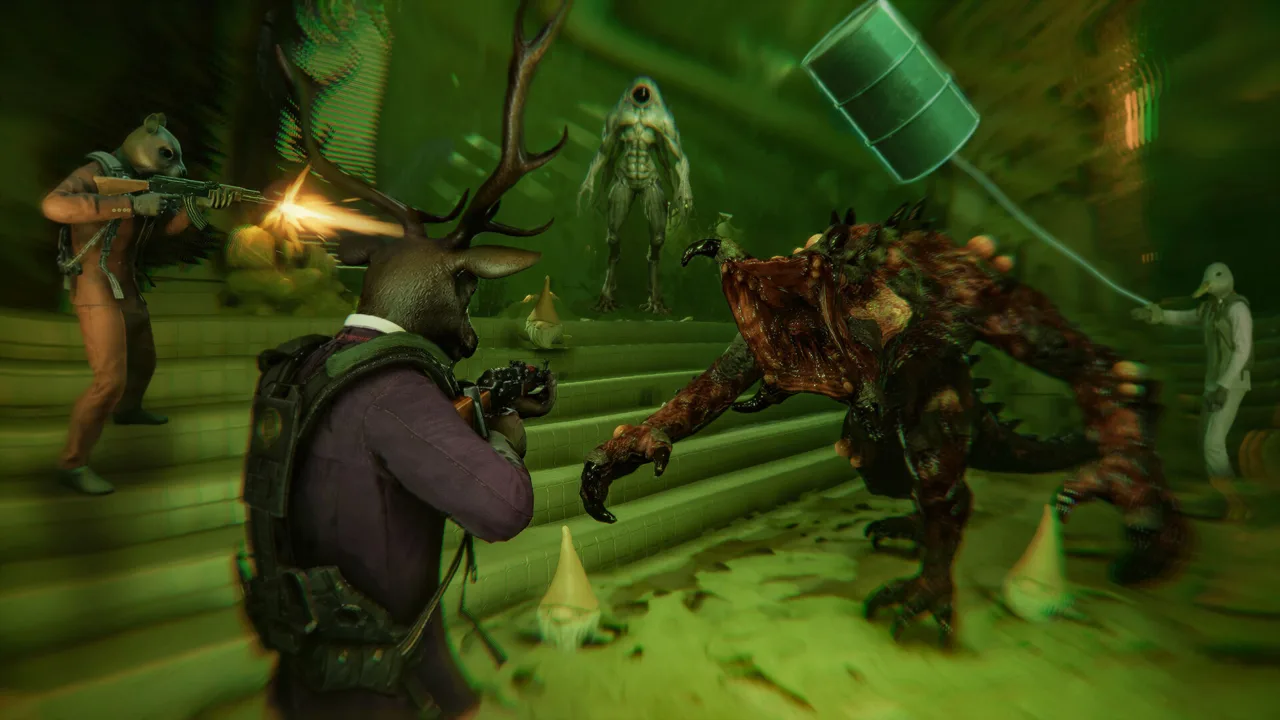 Image: Steam / Wales Interactive
- Every bump costs money. Ingredients lose value when they smack into walls, doors, furniture or other players. Slow down at doorways, since Facility doors open slowly.
- You start with two items. By default the Gauntlet holds two objects at once. Upgrade it to carry more.
- Charge your throws. Holding the throw charges a harder toss, and the outline color changes as it charges. Use it to fling objects at enemies, not your loot.
- Aim and zoom anytime. You can aim the camera whenever you want, not only while holding something.
- Don't drop your gear. If you lose your Gauntlet, you can't carry anything. The bus sells replacements.
Perk Cocktails, Bar Snacks and Upgrades
Drinks are your safety net, and snacks are your stat boosts. Learn the starter drinks first:
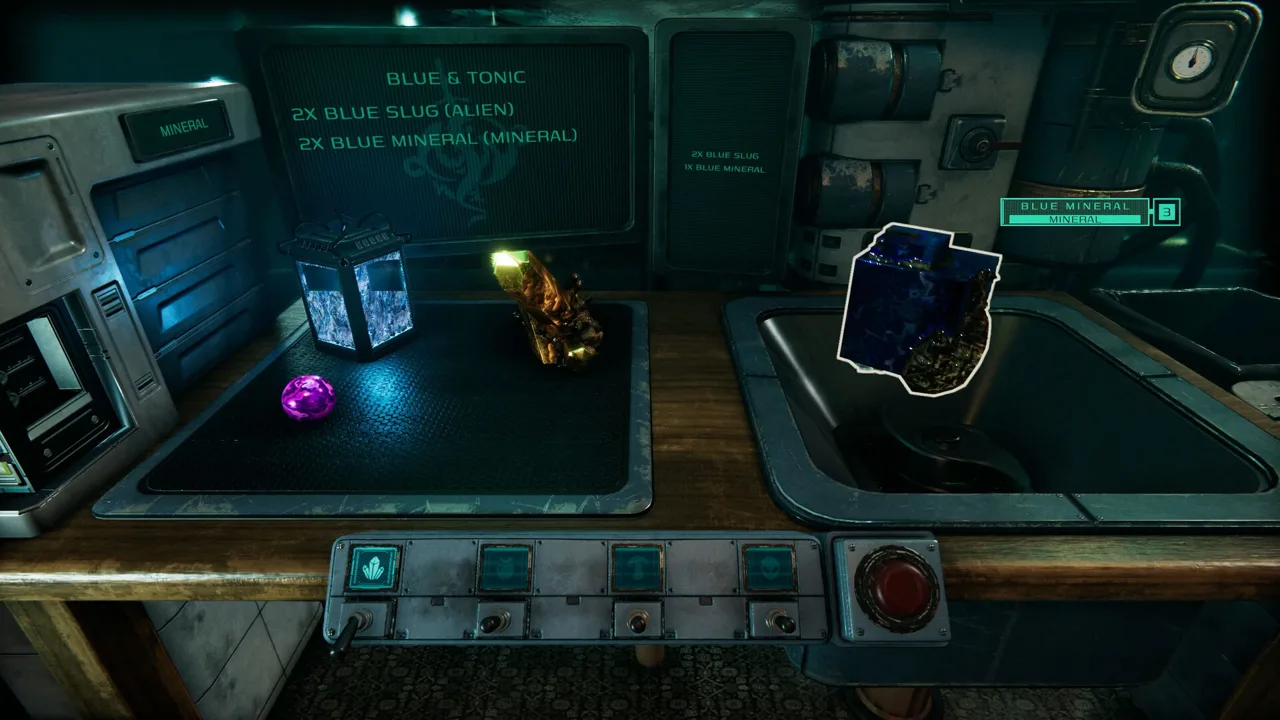 Image: Steam / Wales Interactive
| Drink | What it does |
|---|---|
| Coffin Dodger | Revives you 3 seconds after death. You must drink it before you go down. |
| Baldwin's Health Elixir | Heals you |
| Dynamo | Big speed boost |
| Shape Shifter | Turns you into a prop so enemies lose you |
| Teeny Weenie | Shrinks you (teammates can pick you up and throw you) |
Since 1.0, every Perk Cocktail can be thrown at teammates to give them the effect. That means you can heal a teammate in their time of need without handing over the bottle.
Brewing: Activate the hidden door by the cash register in The Fox Hole Arms to reach Brewdragon's Secret Brewery. At the Brewing Station, follow recipes using your ingredients, complete orders to learn power drinks, and fill order ledgers to level up their potency. There are over 70 cocktails to discover. Freehand mixes without a recipe turn into failed drinks.
Bar snacks boost your stats for the session and have five upgrade levels each. If you die during a Crawl, you lose the snack's benefit and have to buy it again.
| Bar snack | Effect |
|---|---|
| Iron-Hide Pork Rinds | More HP |
| Hoarder's Pickled Rings | Extra inventory slot |
| Sharp-Tongue Zappers | More stamina |
| Bull-Rush Beef Strips | More speed |
| Steady On Nuts | Faster stamina regen |
Gear upgrades: The Upgrade Bench in the pub levels up your Gravity Gauntlet and scanner, with five levels each. Your banked money is individual, so each player funds their own upgrades.
Between runs, also check the Challenge Room for cosmetic rewards and hunt for the Rift Bestiary hidden somewhere in the pub. The game has 45 Steam achievements, including:
- Rift Amateur, Rift Pro and Rift Champion
- Hoarder, Gnome Dunk and Special Delivery
- Fashion Icon and Best in Class
Combat and Rift Creatures
The game started as a gunless stealth horror, but 1.0 stocks the bus with two weapon types: the Revolver and the AKM. Ammo runs out fast, so don't empty a magazine on every slug. Resupply stations and ammo crates inside the rifts let you top up.
Know which creatures to respect:
- Kevin uses his tongue to steal equipment, drinks, snacks and between 20% and 50% of your money. Kill him or keep your distance.
- The Phantom inverts your controls on contact.
- Wizard turns you into a gnome with his staff. His name glows above him, so you'll spot him early.
- Tilly looks like a lost child but carries a knife in her trench coat.
- Flying Apex is a mutated shark in the Aquarium expansion that bites and spits whirlpools.
- Spiders web you in place, which is deadly in trap rooms.
Trap rooms are just as dangerous as monsters. Watch for crushing pillars, laser barriers, swinging hammers, electrified floors and rotating fire traps. In 1.0, Rift Surges can also hit at any time, tripling head sizes, icing the floors or flipping the world upside down.
Base player health is 200. When a fight goes bad, use your Dynamo or Shape Shifter to break away instead of trading hits.
Mistakes to Avoid
- Getting greedy before the collapse. When the countdown starts, drop what you're doing and run for the bus. A failed Crawl can wipe all your banked money and send you back to Crawl 1.
- Holding Coffin Dodger without drinking it. It doesn't trigger from your inventory. Drink it when danger is close.
- Forgetting fallen teammates. When a player dies, their head pops off. Carry the head back to revive them, and grab the gear they dropped.
- Splitting up too far. Splitting up covers more ground, but finding a missing teammate in a procedurally generated rift wastes time.
- Overspending on drinks. After Crawl 1, drinks cost money. Buying a full kit every run can leave nothing for upgrades.
Setup and Performance Tips
- Platforms: PC (Steam, Epic), PS5 and Xbox Series X|S, with full crossplay. PS5 online play requires PS Plus.
- Solo play: You can launch and play offline when playing solo. The game is balanced for 1–4 players.
- Try before you buy: There's a free demo. Pick it up or buy the full game on the Hazard Levels PlayStation Store page or the Hazard Levels Steam page.
- PC minimum specs: Intel Core i5-4460 / AMD FX-6300, 8 GB RAM, GTX 760 / R7 260x with 2GB VRAM, and 15 GB of storage.
- Stuck at 30 FPS on a strong PC? Set Fullscreen to Fullscreen in the graphics options.
- Crashing on launch or no cursor? Unplug USB controllers and devices.
- Sensitive to flashing? A graphics option removes the flashing lights during rift collapse.
FAQ
How much does Hazard Levels cost?
On PS5, the standard edition launched at $12.99. The Digital Deluxe Edition adds the Dragon, Unicorn, Minotaur, Kelpie and Kitsune Myths & Legends DLC packs.
Can I customize my character?
Yes. You can change your head mask, suit, gloves and scanner skin at the customization center behind the fireplace in The Fox Hole Arms.
Who is Foxy?
Foxy is a small fox who can spawn during a Crawl. Pay a small fee and you'll get a random drink or piece of equipment.
Continue with
 Hazard Levels Gameplay Guide: Rifts, Loot, Brews & SurvivalSee how Hazard Levels gameplay works in 1.0: scanning rifts, hauling loot with the Gravity Gauntlet, filling quotas, brewing perk cocktails, and escaping.
More in Guide
See all GuideContinue exploring
Hazard Levels PS5 Pro: Best Graphics Mode, Price & Co-Op
Playing Hazard Levels on PS5 Pro? Find the best graphics mode for 60 fps, PS5 pricing, crossplay co-op details, and smart tips for your first rift crawls.
Hazard Levels Wales Interactive: 1.0 Launch Guide & Updates
Hazard Levels from Wales Interactive is out now in 1.0 with crossplay. Discover what changed, how brewing works, prices, DLC, and tips for every crawl.
Join the community
Official channels for news, updates and player help: